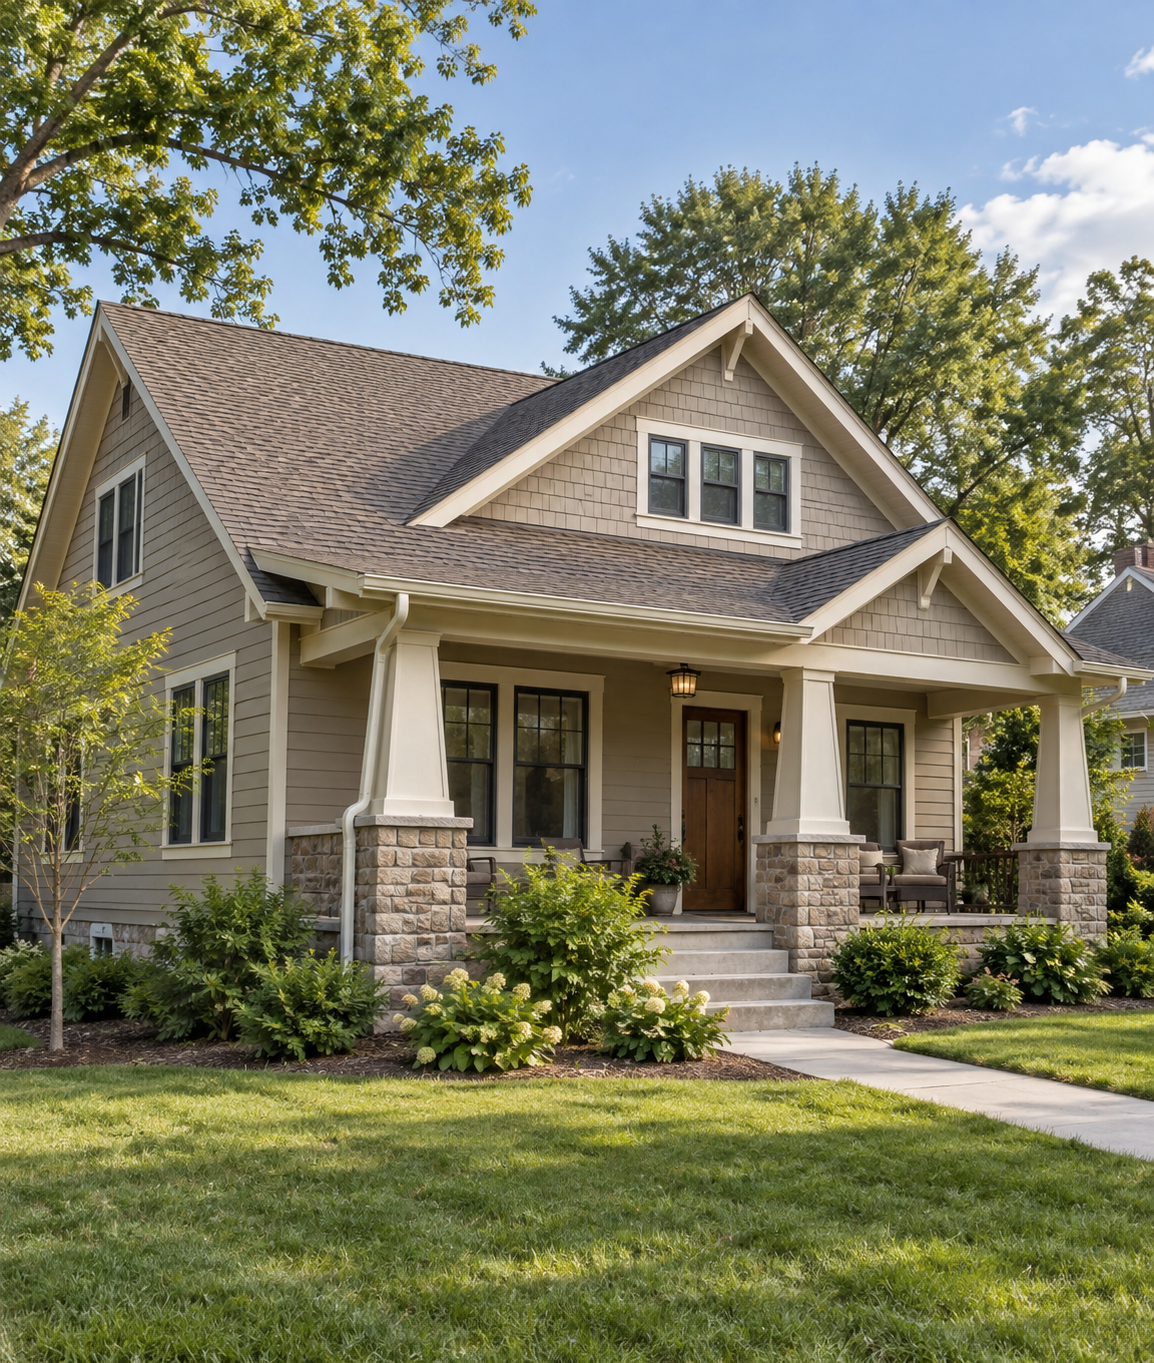
Residential Roofing Process
A residential roof replacement is more than removing old shingles and installing new ones. It is a coordinated construction project involving evaluation, material selection, ventilation, water management, property protection, scheduling, installation, cleanup, and final documentation. Understanding the process helps homeowners compare proposals, prepare their property, and recognize why details beneath the shingles matter.
Although every home is different, most well-managed residential roofing projects follow the stages below.
Step 1: Initial Conversation and Scheduling
The process begins when the homeowner contacts a roofing contractor. The contractor may ask about the roof’s approximate age, known leaks, storm history, interior stains, previous repairs, roofing material, and reason for the project. This information helps determine the urgency and type of inspection needed.
The homeowner should mention access restrictions, pets, gates, landscaping concerns, solar equipment, skylights, attic conditions, and any planned exterior work. Good communication at the beginning reduces surprises later.
Step 2: Roof and Property Evaluation
The contractor evaluates the roof’s visible condition, design, slope, penetrations, transitions, drainage, flashing, ventilation, and accessible decking. The inspection may include exterior elevations, attic areas, gutters, siding, chimneys, skylights, and interior evidence of moisture.
Measurements are taken to estimate roofing, underlayment, edge metal, flashing, ridge caps, ventilation, fasteners, and disposal. Complex roofs require careful measurement of hips, ridges, valleys, dormers, walls, and multiple elevations. The contractor should also identify trees, utility lines, narrow access, fragile landscaping, or other site conditions that affect planning.
Not every problem can be confirmed before removal. Decking hidden beneath the existing roof may be deteriorated even when the surface looks acceptable. A proposal should explain how unexpected wood replacement or concealed damage will be documented and priced.
Step 3: Recommendations and Scope Development
After the evaluation, the contractor develops recommendations. The scope may include full replacement, specific ventilation improvements, new flashing, skylight work, gutter coordination, chimney repairs, or other related components.
A detailed proposal should identify the roofing product, underlayment, ice- and water-protection locations when applicable, starter shingles, ridge caps, vents, flashing, pipe boots, edge metal, fastening approach, disposal, cleanup, and warranty information. It should also state important exclusions and allowances.
Homeowners should ask why each component is recommended. The roof must function as a system: shingles shed most rainfall, while underlayment, flashing, ventilation, and drainage provide protection at vulnerable areas and help manage heat and moisture.
Step 4: Material and Color Selection
Architectural asphalt shingles are available in many colors and styles. The choice should complement siding, masonry, trim, gutters, shutters, and the home’s overall architecture. View full-size samples outdoors at different times of day when possible. Small samples may not show the blended appearance of an entire roof.
Product decisions should also consider wind rating, impact options, algae resistance, manufacturer requirements, warranty terms, and local conditions. Accessories should be compatible with the selected system rather than assembled solely by appearance or price.
Step 5: Contract, Permits, and Scheduling
Before work begins, review the written contract carefully. Confirm the scope, price, payment schedule, change-order process, anticipated start window, warranties, and responsibilities for permits or inspections. Material availability and weather may affect the exact start date.
Once selections are finalized, the contractor orders materials, coordinates delivery, schedules a crew, and obtains required permits when included in the agreement. Homeowners should receive preparation instructions before installation day.
Step 6: Homeowner Preparation
Roofing work creates noise and vibration. Remove fragile items from walls and shelves, especially on upper floors. Cover belongings in the attic because small debris may fall through decking gaps. Secure pets indoors and explain the noise to children or household members who may be sensitive to it.
Move vehicles away from the home and keep driveways or delivery areas clear. Relocate patio furniture, grills, planters, toys, and decorations near the walls. Mark sprinkler heads, low-voltage lighting, septic components, and delicate landscaping. Unlock gates and discuss exterior electrical outlets with the contractor.
Homeowners can usually remain in the house, but some prefer to leave during tear-off because of the noise. Anyone working from home should plan for disruption.
Step 7: Material Delivery and Site Setup
Materials may be delivered before the crew arrives or staged on the day work begins. The contractor determines safe placement based on driveway capacity, access, roof loading, and property protection. Shingle bundles should not be placed indiscriminately on the roof.
The crew establishes work zones and protects appropriate portions of the home and property. Tarps, plywood, catchment systems, or other methods may be used around siding, windows, doors, decks, landscaping, and air-conditioning equipment. The setup varies with the home and site.
Step 8: Removal of Existing Roofing
For a tear-off project, the crew removes existing shingles, underlayment, flashings, and accessories as required. Removing old materials exposes the deck for evaluation and gives the new system a suitable base.
Debris is directed into containers or designated collection areas. Because nails and roofing fragments can scatter, access around the home should remain restricted during the work. Homeowners, children, and pets should not enter the active work zone.
Step 9: Deck Inspection and Repairs
Once uncovered, the roof deck is examined for rot, delamination, broken boards, large gaps, weak areas, or unsuitable previous repairs. Damaged material must be replaced so the new roof has a sound fastening surface.
The contractor should document unexpected deterioration and follow the contract’s procedure for authorization and pricing. Extensive damage may affect the schedule. Covering compromised decking to avoid a change order can shorten roof life and conceal an important structural concern.
Step 10: Eaves, Underlayment, and Water Protection
The crew installs the specified underlayment and any required self-adhering water-protection membrane. Placement depends on climate, code, roof design, manufacturer requirements, and contract scope. Vulnerable locations may include eaves, valleys, walls, chimneys, skylights, and penetrations.
Drip edge or other perimeter metal is installed in the proper sequence for the selected system and local requirements. These details help direct water away from decking and fascia.
Step 11: Flashing and Penetrations
Flashing directs water around interruptions in the roof. Chimneys, sidewalls, headwalls, valleys, skylights, plumbing vents, exhaust vents, and roof-to-roof transitions each require appropriate details.
Existing flashing should not automatically be reused simply because it is present. Its condition, material, integration, and compatibility must be evaluated. Pipe boots and other penetrations should be properly sized, secured, and sealed according to the system requirements.
Step 12: Ventilation Review and Installation
Attic ventilation typically depends on balanced intake and exhaust. Exhaust vents cannot perform correctly without adequate intake air, and mixing incompatible exhaust types can disrupt airflow. The contractor should consider the attic design, insulation, existing vents, roof geometry, and applicable requirements.
Ventilation does not solve every attic moisture or temperature issue. Air leakage from the living space, blocked soffits, bathroom exhaust discharge, insulation deficiencies, and unusual framing may also contribute. These concerns should be identified rather than hidden beneath new roofing.
Step 13: Starter Shingles and Field Shingles
Starter shingles are installed at designated roof edges to provide proper sealing and fastening support for the first course. Field shingles are then installed in the required pattern with attention to exposure, alignment, fastener type, nail placement, and manufacturer instructions.
Fasteners must penetrate the required substrate and be driven correctly. Overdriven, underdriven, angled, or misplaced nails can affect shingle performance. Valleys, rakes, transitions, and steep or complex sections require deliberate layout rather than improvisation.
Step 14: Ridge Caps and Final Details
After the roof planes are completed, compatible ridge-cap shingles are installed along hips and ridges. Vents, flashing, sealants, exposed fasteners, and transitions receive a final review. The crew confirms that gutters and drainage paths are clear and that roofing details are complete.
If skylights, chimneys, siding, or gutters are included, their work may be coordinated during roofing or scheduled as a related phase. The contractor should explain any temporary condition that will remain between phases.
Step 15: Cleanup and Magnetic Nail Collection
Crews remove packaging, tear-off debris, excess materials, and protective coverings. Magnetic tools may be used around the yard, driveway, beds, and access areas to collect loose fasteners. Because magnets cannot recover every nail—especially from dense vegetation or concealed locations—homeowners should continue wearing shoes outside and watching areas where debris was handled.
The contractor should inspect siding, windows, gutters, landscaping, and paved surfaces for remaining debris or visible damage related to the work.
Step 16: Final Inspection and Documentation
The completed roof should receive a final inspection. The contractor may review material alignment, flashing, penetrations, ventilation, ridge caps, cleanup, and project-specific details. Required municipal inspections are separate and depend on local procedures.
Homeowners should receive final invoices, warranty information, product details, maintenance guidance, and any required registration instructions. Keep photographs, contracts, change orders, permits, inspection records, and payment receipts together.
Step 17: Ongoing Roof Care
A new roof still benefits from periodic observation and maintenance. Keep gutters and drainage paths clear, trim branches that contact the roof, and watch for changes after severe weather. Do not pressure-wash shingles or allow unqualified workers to create new penetrations.
Schedule professional evaluation when you notice missing materials, interior stains, damaged flashing, unusual attic moisture, or storm impacts. Early attention can prevent a localized problem from affecting a larger area.
Houston, Texas Roofing Contractor
713-555-1212
Get A Free Estimate
Actual Customer Review
From an Actual Project
★★★★★
“From the first inspection through the final cleanup, X1Worx, LLC made the entire roof replacement easy to understand. The crew arrived on time, protected our landscaping, and left our property spotless. Our new roof looks fantastic, and we couldn’t be happier with the workmanship.”

Ken & Donna F.